
A Deepdive into Lutron’s different keypad options
Keypads are the part of a lighting control system you actually touch every day — so they can’t be an afterthought. In the UK & Ireland, Lutron offers two main residential platforms that you’ll see on higher-end projects:
- HomeWorks – this is their flagship range, typically for larger builds and design-led interiors
- RadioRA 3 – this is Lutron’s newest premium whole-home wireless system, ideal for many new builds and retrofits
Below is a practical breakdown of the keypad families, the finish/button options that matter, and the wiring reason you want to choose early — especially if you’re planning occupancy/vacancy (O/V) sensors.
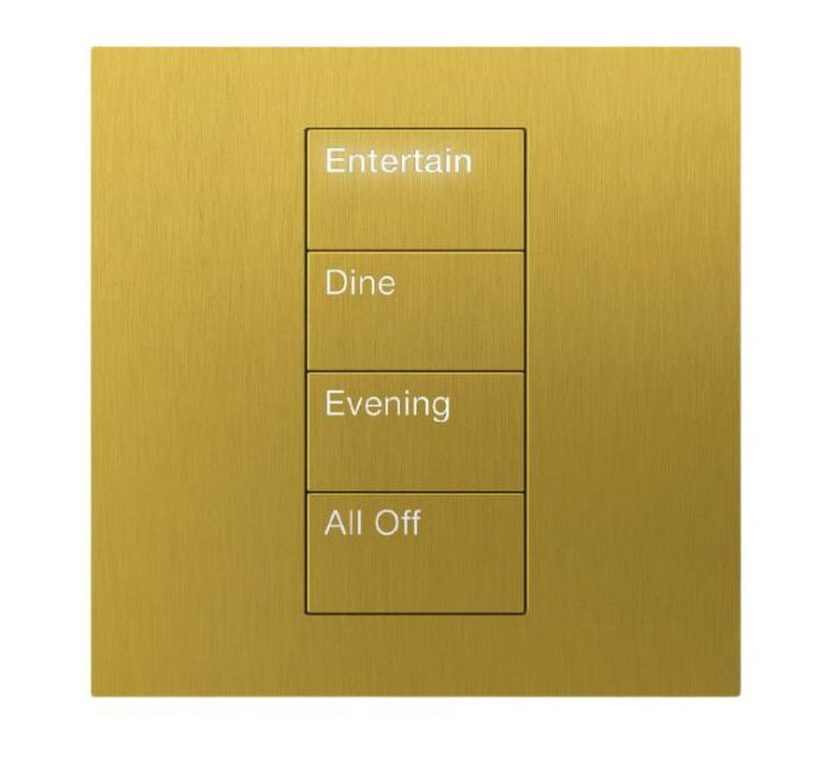
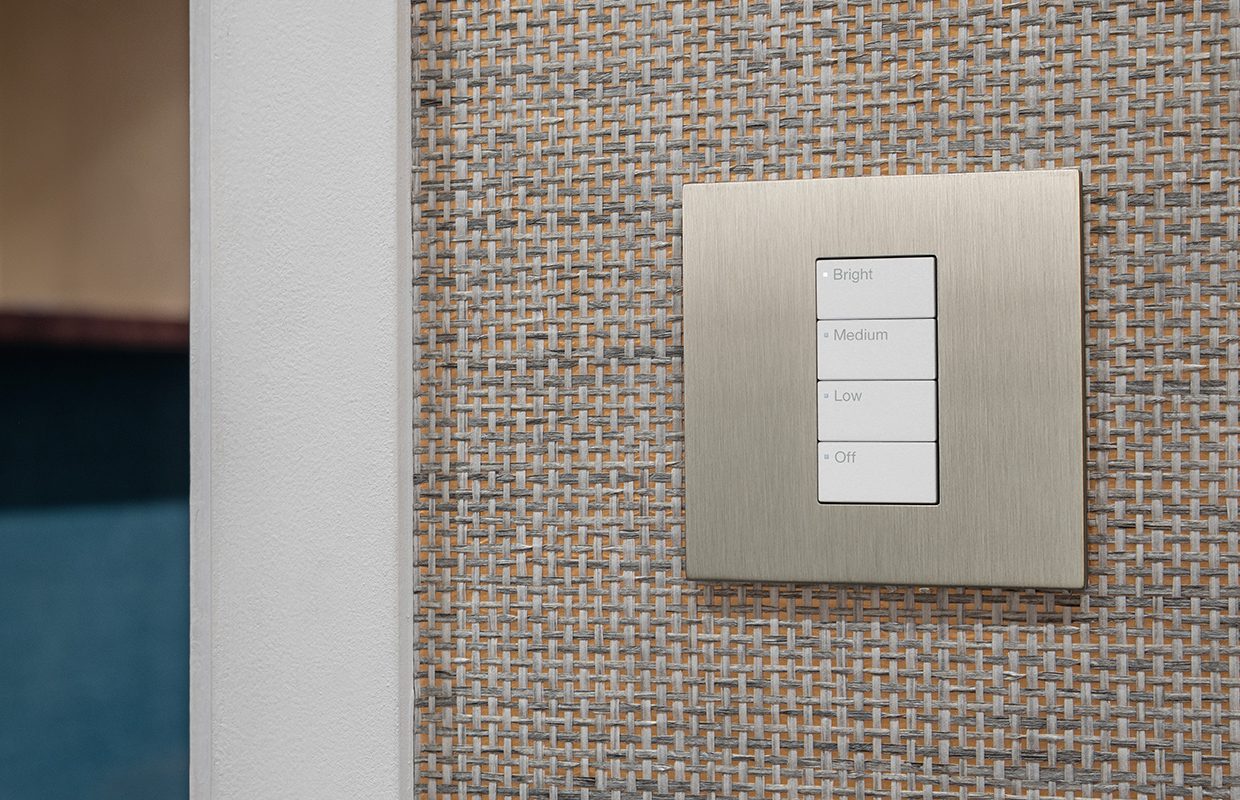
SeeTouch: the “classic” with huge flexibility (and a wiring advantage)

If you’ve been around Lutron projects for a while, you’ll know seeTouch. It’s popular because it’s highly configurable(button counts, engraving, and style variants), and it’s also the keypad family with a very useful integration feature: two contact-closure inputs (CCIs) on the back of the keypad, which can be programmed independently from the front buttons. This is the bit that makes certain sensor integrations simpler, namely Occupancy/Vacancy sensors. These are used when you want bathroom/hallway lights to be triggered automatically to come on with movement – perhaps late at night!
Why installers/designers love this: if you’re using a volt-free (dry contact) O/V sensor, you can wire that sensor directly to the back of the SeeTouch keypad rather than needing a separate interface module in your Lutron rack.
Finish & button options: SeeTouch has historically been offered with a wide range of faceplate finishes and multiple button-count configurations. Have up to 10 buttons! That means if you have a space with blinds, curtains, and lots of light scenes, you have ample button choice for full control. SeeTouch button engraving can also easily be taken out and changed at a later stage, which gives you the freedom to change your keypad engravings as you get use them – great peace of mind!
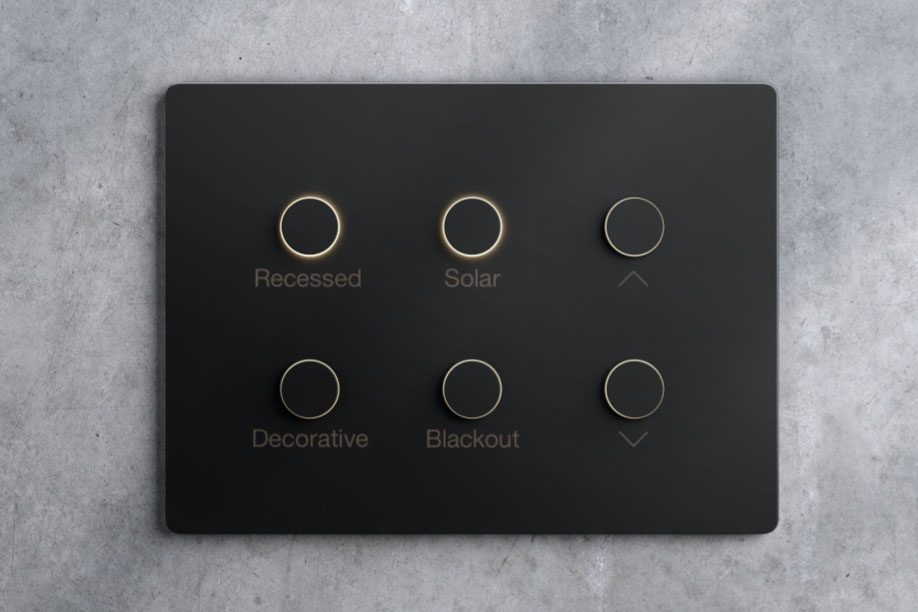
Palladiom: minimal, architectural, very “interiors-first”
Palladiom is where Lutron leans into ultra-clean detailing: thin profiles, tight geometry, and a more “invisible tech” aesthetic. The engravings on Palladiom are back-lit so keypads are easily read in dark spaces.
Buttons/configuration: Palladiom keypads are configurable in multiple layouts (commonly up to 8 buttons, or 7 + raise/lower, depending on model), and support standard/custom engraving.
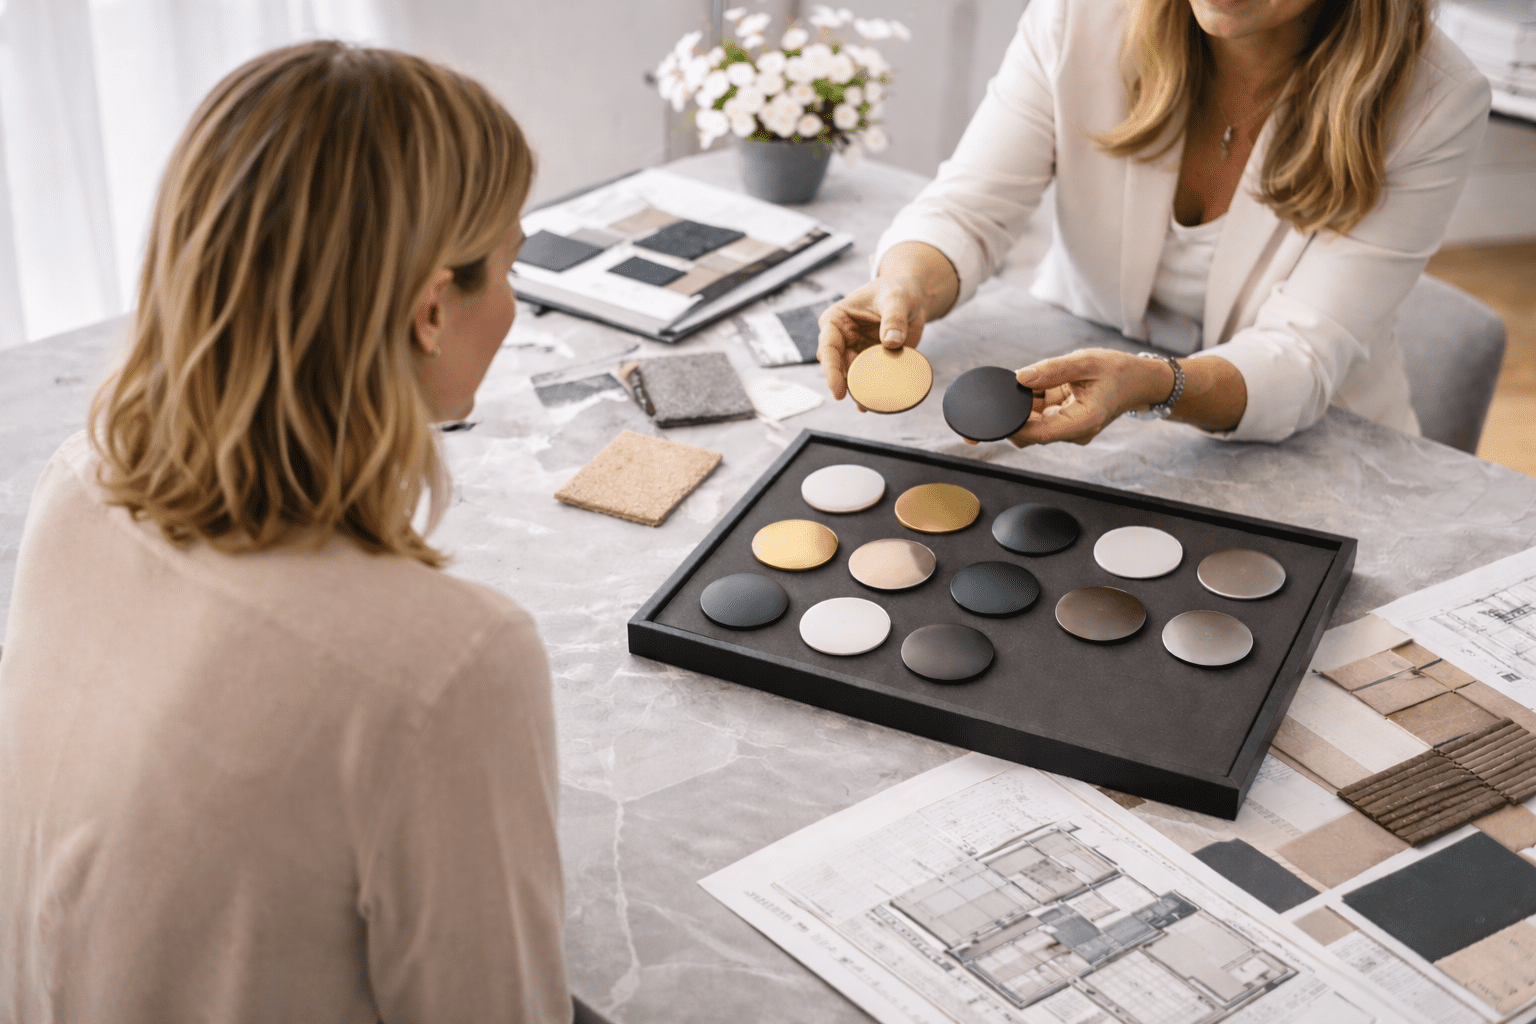
Finishes: Palladiom comes in a range of Matte finishes and Metal finishes. As well as some glass finishes too!
Key practical note: Palladiom’s look is so dependent on coordinated wallplates, trim details, and placement that you ideally want it decided while the interior elevations are being finalised — not when first-fix is already in. Please be aware Palladiom engraving is final once submitted, meaning if you want to change buttons, you have to replace the whole keypad which has more significant cost implications.
Alisse: boutique hardware feel, statement finishes
Alisse is the “jewellery” end of the range — tactile buttons, premium materials, and a design language that suits traditional-to-contemporary luxury interiors.
Finishes: Alisse comes in premium metal finishes, with Antique Bronze and Brass being two favourites in the line.
If you’re working with an interior designer (or doing detailed ironmongery schedules), Alisse usually gets selected alongside other touchpoints: sockets, ironmongery, plumbing finishes, cabinetry hardware, etc.
Vierti: Wireless system RA3’s premium “architectural keypad” direction
Before RA3, came RA2 – a more simplified wireless system which has completely wireless, removable ‘Pico’ keypads. Whilst this makes the system much more retrofittable and malleable, it lacked the premium feel of Lutron’s standard of lighting control.
RA3 Vierti keypads sits above the “standard” aesthetic in RA2 — bigger buttons, refined hardware approach, and a clearer pathway to luxury wallplate finishes.
Buttons/config: Vierti supports multiple button kits (2-button, 3-button + raise/lower, 4-button).
Finishes: The biggest step up from RA2 was the metal finish options on faceplates; RA3 now offers similar antique brass finishes to Lutron’s most luxurious Alisse range whilst remaining at a much more approachable price point
If the project is small-medium sized house and HomeWorks is out of budget, RA3 is the perfect solution.
Why keypad selection must happen early (and why it saves headaches later)
When people think about lighting control, keypads are often treated as a finishing touch — something to choose once walls are painted and interiors are nearly complete. In reality, keypad selection needs to happen much earlier, because it directly affects how the system is designed, wired, and installed behind the scenes.
Getting this right early leads to cleaner walls, better sensor behaviour, and fewer compromises later in the build.
Keypads influence where everything goes — long before décor is finished
Before we even talk about finishes or engraving, keypads define important first-fix decisions. Your electrician needs to know:
-
How many control points are needed in each room
-
Whether a location will be a single keypad or a multi-gang grouping
-
Where cabling should be routed (especially important in high-end interiors where visible drops are undesirable)
-
Whether you want flexibility for future keypads or scene changes
If keypad decisions are left until late in the project, it often leads to awkward outcomes: control points being moved, walls being patched, or keypads ending up “where they fit” rather than where they feel natural to use. Early planning avoids these compromises and keeps the interior design clean and intentional.
Occupancy sensors: one keypad choice can simplify (or complicate) the system
This is the part that frequently catches projects out.
Many homeowners want lighting that reacts intelligently — lights turning on when you enter a room, turning off when it’s empty, or behaving differently at night versus during the day. How those occupancy or vacancy sensors are integrated depends heavily on the keypad family chosen.
With HomeWorks seeTouch keypads:
Some seeTouch models allow certain types of occupancy sensors to connect directly at the keypad location. When this approach is suitable, it can simplify the system design by reducing extra interface hardware elsewhere in the home. The result is a cleaner, more efficient installation with fewer components hidden away in cupboards.
With other keypad families (such as Palladiom, Alisse, or RA3 keypads under correct circumstances):
Sensors are typically connected via a separate interface module that lives centrally within the system. This works perfectly well — but it needs to be planned for. Space must be allowed for the interface, cabling needs to be routed accordingly, and sensor selection must align with that architecture.
Why this matters early:
If keypad aesthetics are chosen first and wiring is considered later, it can force last-minute design changes — additional modules, altered cable routes, or revised sensor choices — all of which could have been avoided with early coordination.
Put simply: the keypad style you choose can either simplify the system, or add hidden complexity behind the scenes.
A sensible, low-stress way to choose keypads
The smoothest projects follow a clear sequence:
-
Choose the control platform early — HomeWorks or RA3 — based on the size of the home, level of integration, and long-term flexibility required.
-
Select keypad families by area — for example, statement keypads in main living spaces and more functional options in utility or back-of-house areas.
-
Decide where intelligent lighting behaviour is needed — such as hallways, bathrooms, dressing rooms, or circulation spaces.
-
Design the wiring to suit — either taking advantage of keypad-based sensor integration where appropriate, or planning central interfaces neatly from day one.
This approach keeps walls clean, systems reliable, and design intent fully intact — without costly or frustrating changes late in the build.
If you are beginning a project soon and lighting control is on your mind, please don’t hesitate to contact us for a consultation today.